Seedin Investment: How to Register to Seedin PH (Account Creation)
Seedin registration is very easy!
In this step by step guide, we will show you how to register and create your online account in Seedin.
Let’s start so you can already take advantage of the benefits of this crowdfunding platform for passive income.
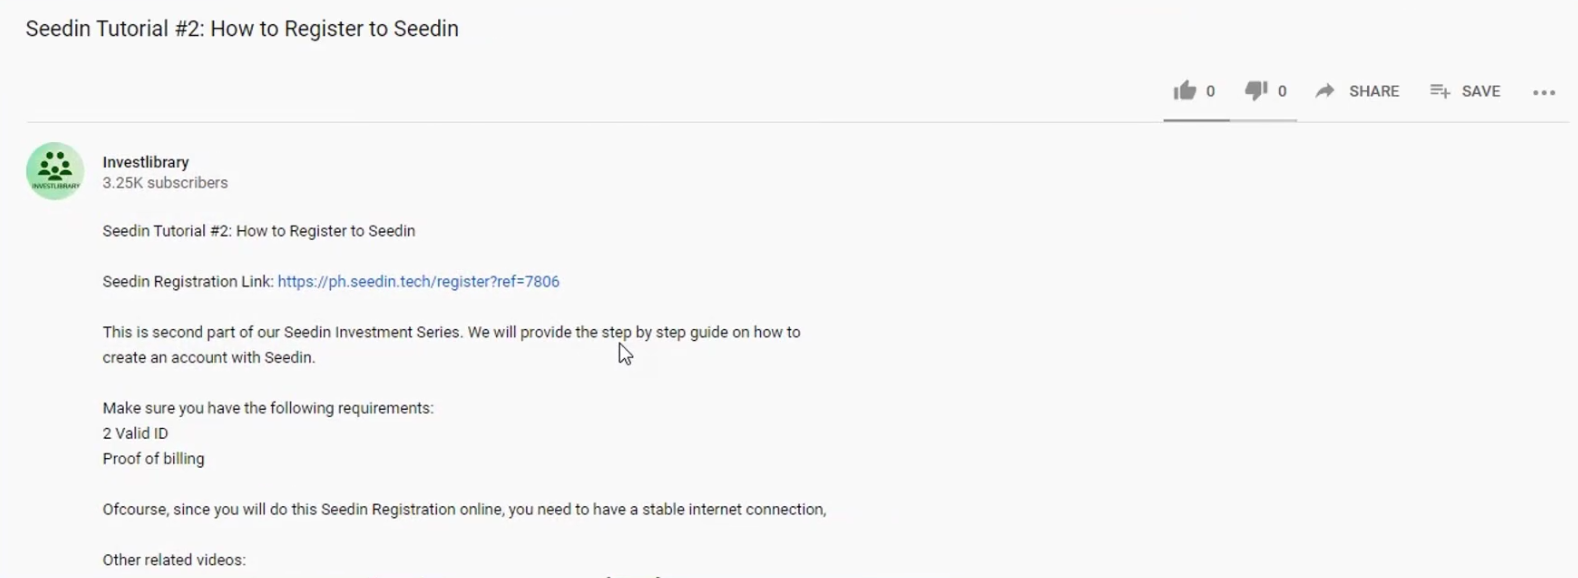
Step 1: Click on the Registration link below.
The first step is to click on this registration link.
This will redirect you to the Seedin registration page.
Take note that the registration link above contains our referral link.
If you like us to continue creating similar content such as this, please support us by registering to Seedin via our referral link. 🙂
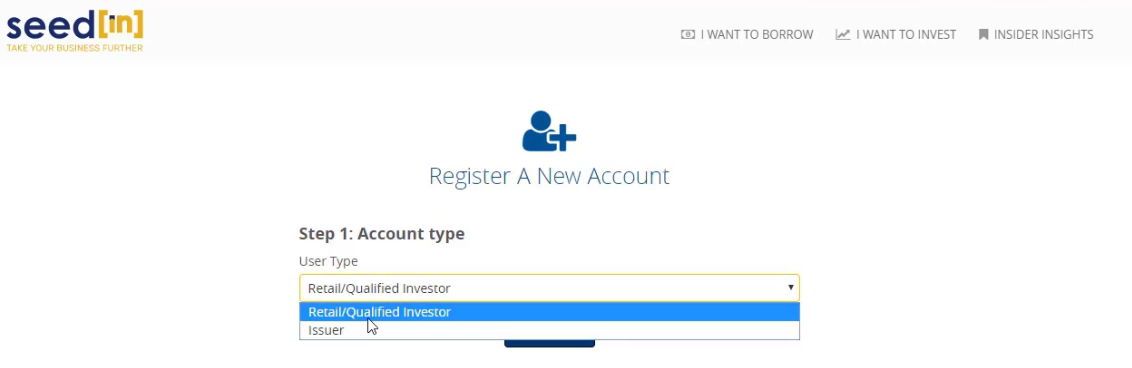
Step 2: Select Account Type.
There are two user account types that you can choose from.
In our case, we will select being Retail/Qualified Investor.
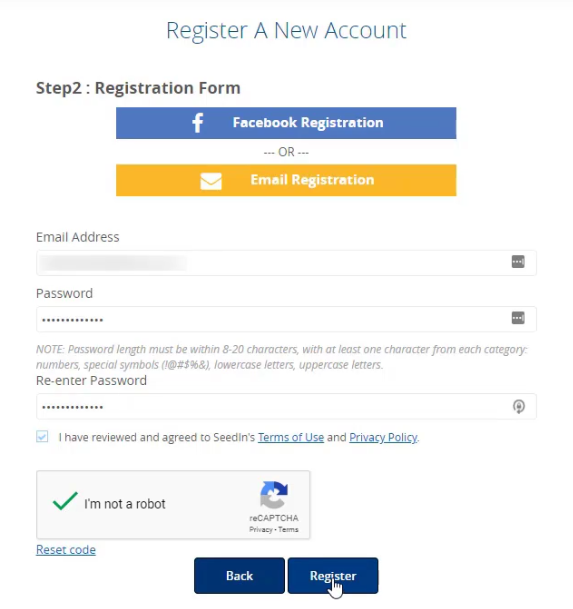
Step 3: Nominate your Email and Password that you want to use.
You have an option here to register via Facebook or Email.
For this tutorial, we will be using the email route.
You will have to input your email address and any chosen password for your Seedin account.
Do not forget to tick the box for the Terms of Use and Privacy Policy and also for the captcha.
Hit on the Register button when done.
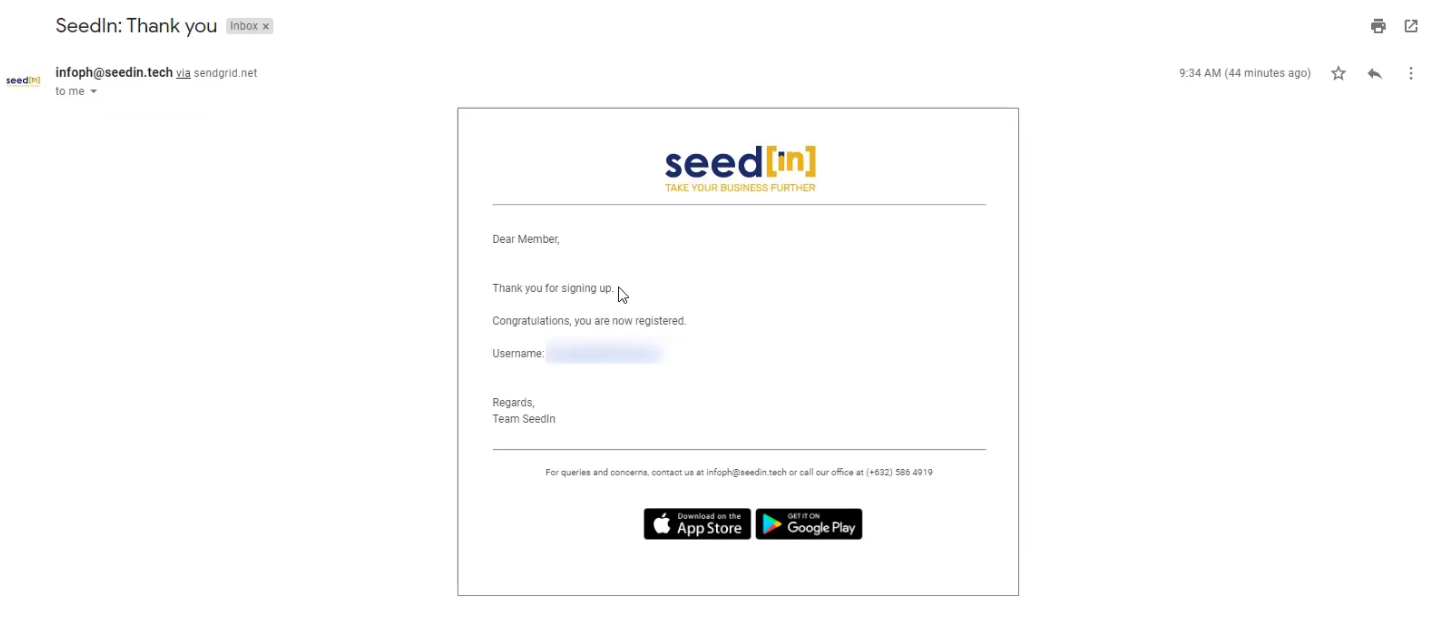
You will be receiving an email for the successful registration.
The next step is to get your account fully approved and verified in order to utilize the crowdfunding platform.
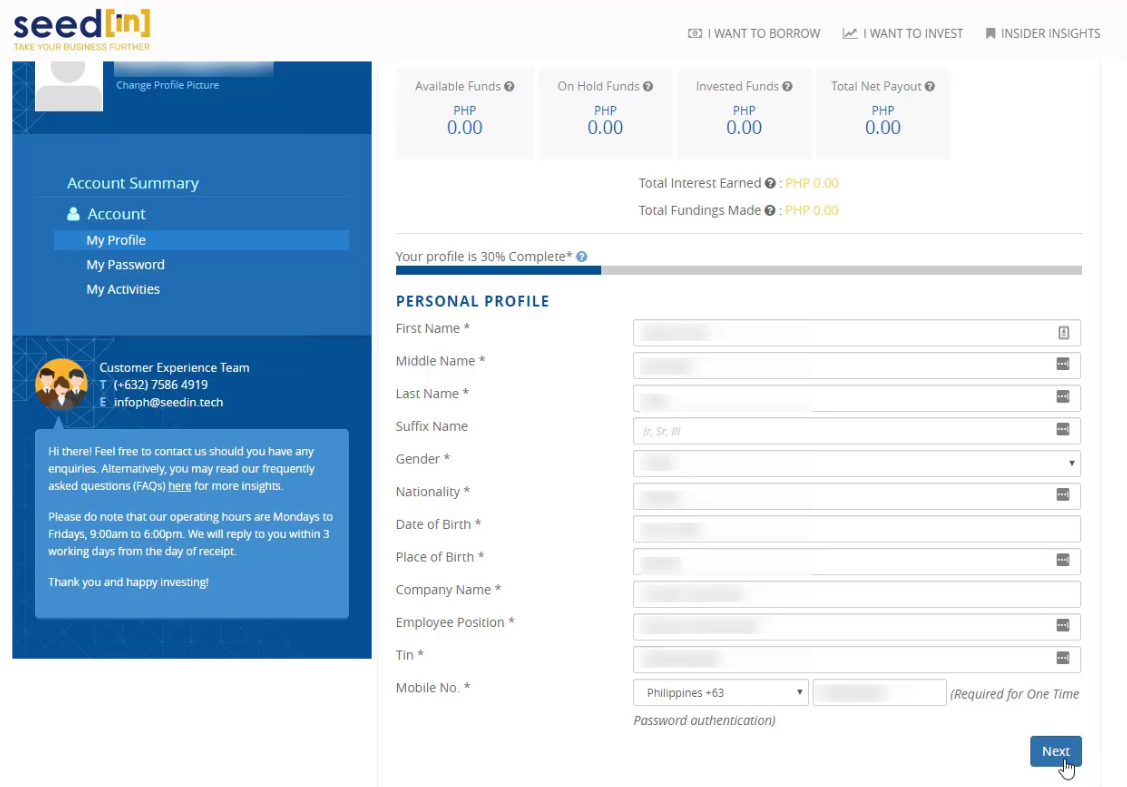
Step 4: Complete and Submit the Personal Profile Registration Form.
Those fields that have asterisk marks are required fields (almost all of them are!)
Make sure to correctly input all of the fields:
- First Name
- Middle Name
- Last Name
- Suffix Name (optional)
- Gender
- Nationality
- Date of Birth
- Place of Birth
- Company Name
- Employee Position
- Tin
- Mobile Number
Make sure to input a mobile number that you currently has access to as you they will be sending an OTP code later in the registration process.
When you are done completing the fields, click on the Next button.
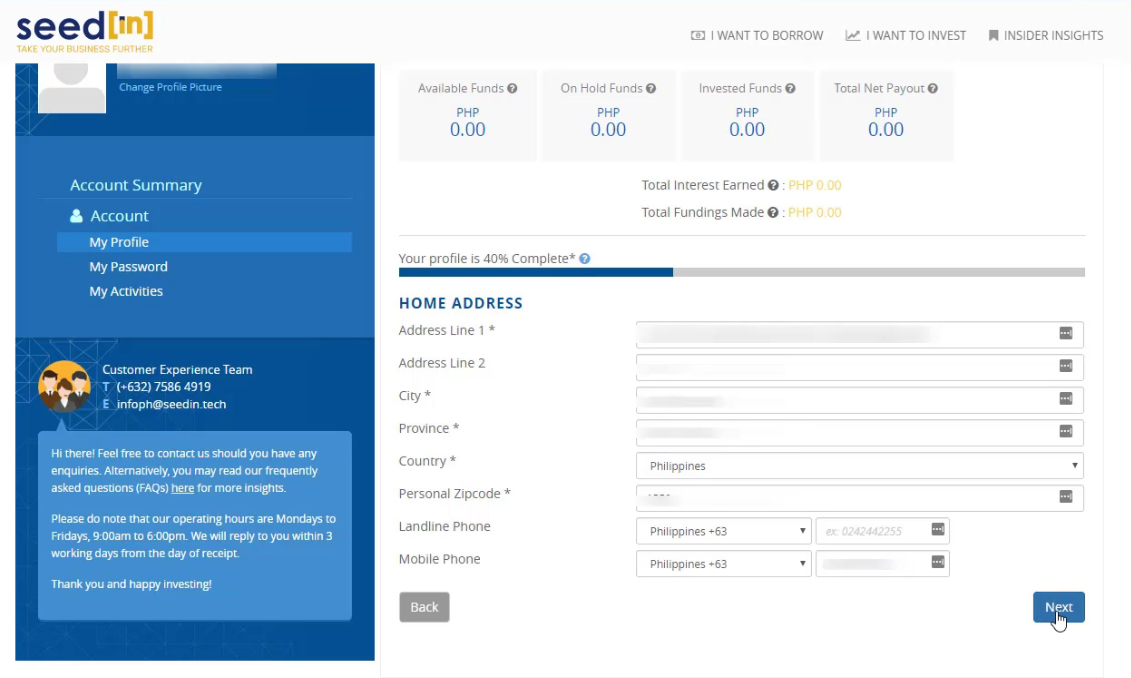
Step 5: Input your Home Address.
You will then need to key in your home address and zip code.
Click on the Next button when done.
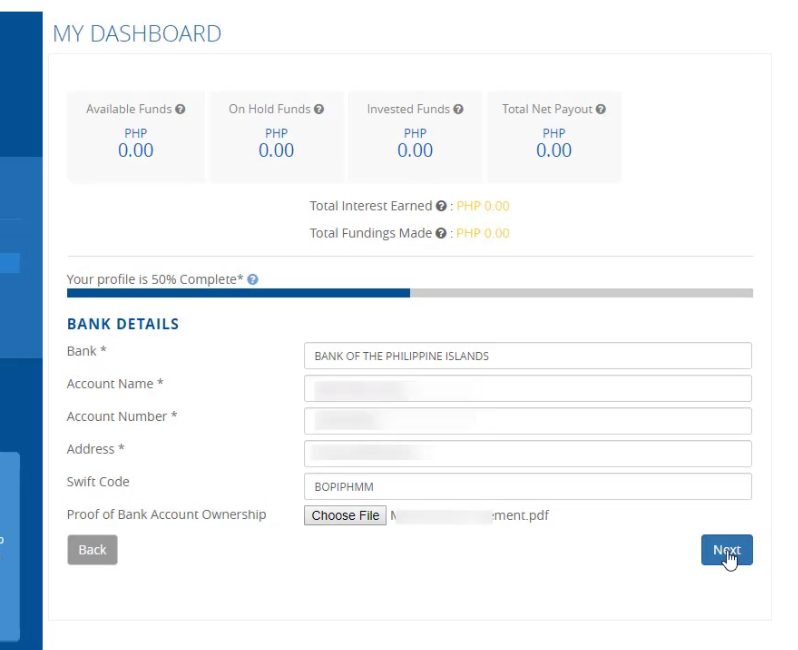
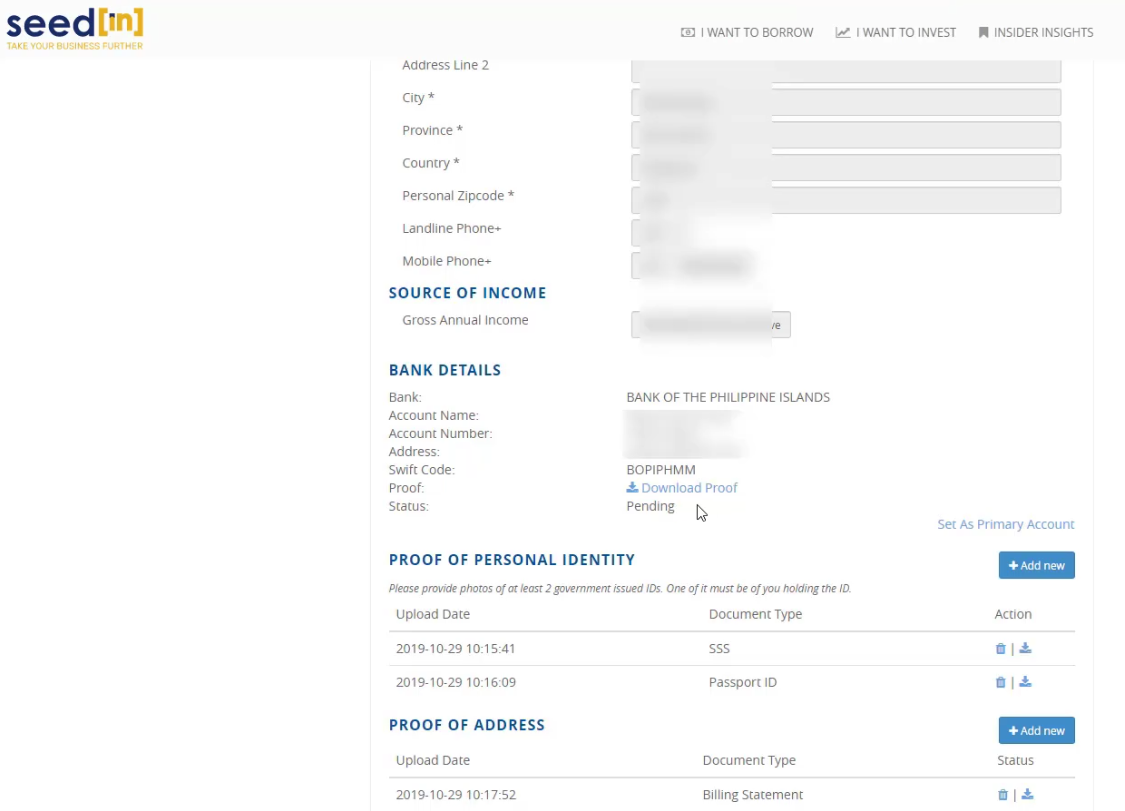
Step 6: Provide your Bank Details.
Seedin will also need your bank details.
They will be using this especially during money withdrawal requests.
Just to make sure that my account registration will be approved, I added those non-required fields as well.
You can get your bank’s swift code in the description section of our YouTube video.
For the proof of Bank Account Ownership, I uploaded my bank account statement.
Click on the Next button to continue.
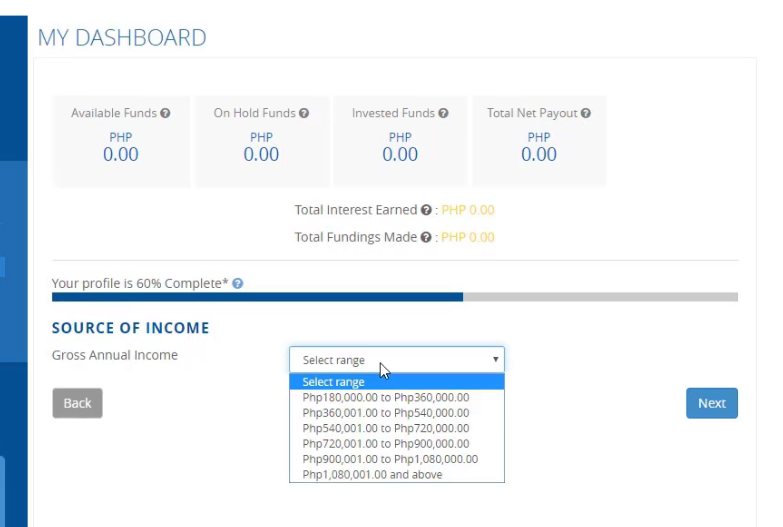
Step 7: Enter your Source of Income amount.
In the next fields, they are now asking for your gross annual income.
You just need to select from the drop down option.
Click Next to continue.
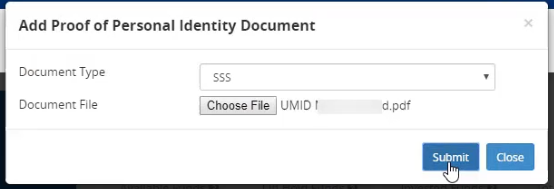
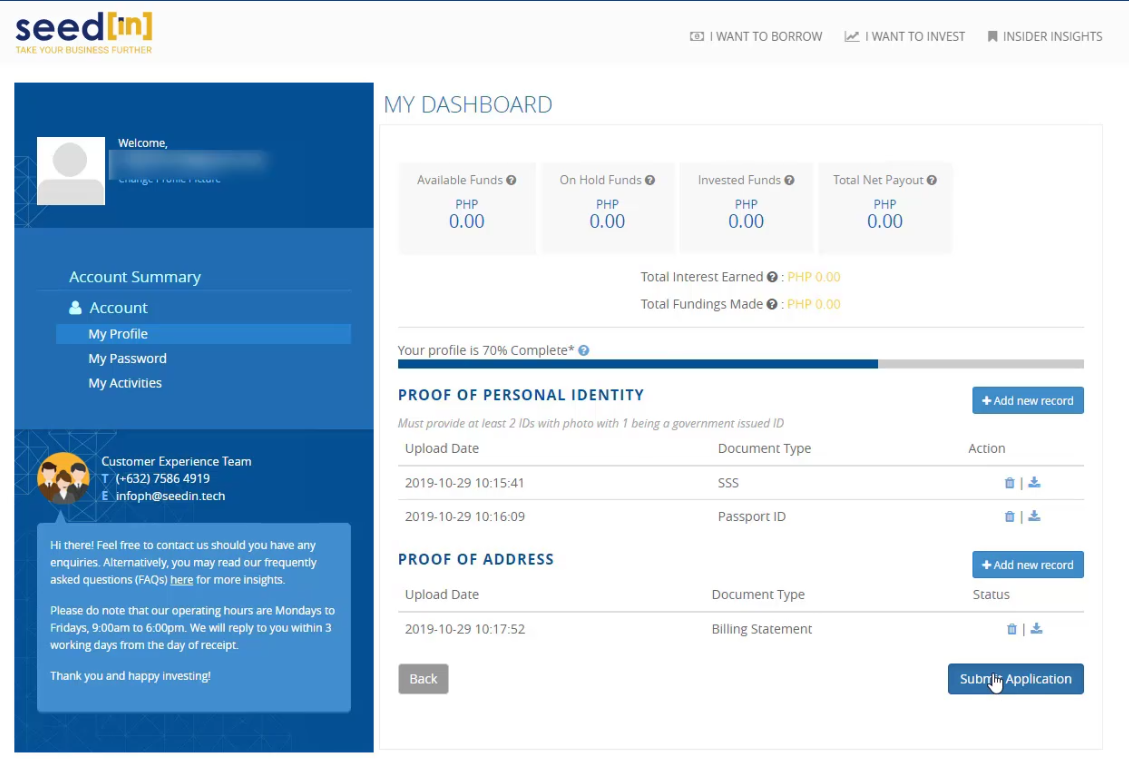
Step 8: Attach your Proof of Personal Identity.
Seedin will need at least 2 IDs with photo with 1 being a government issued ID for your proof of personal identity.
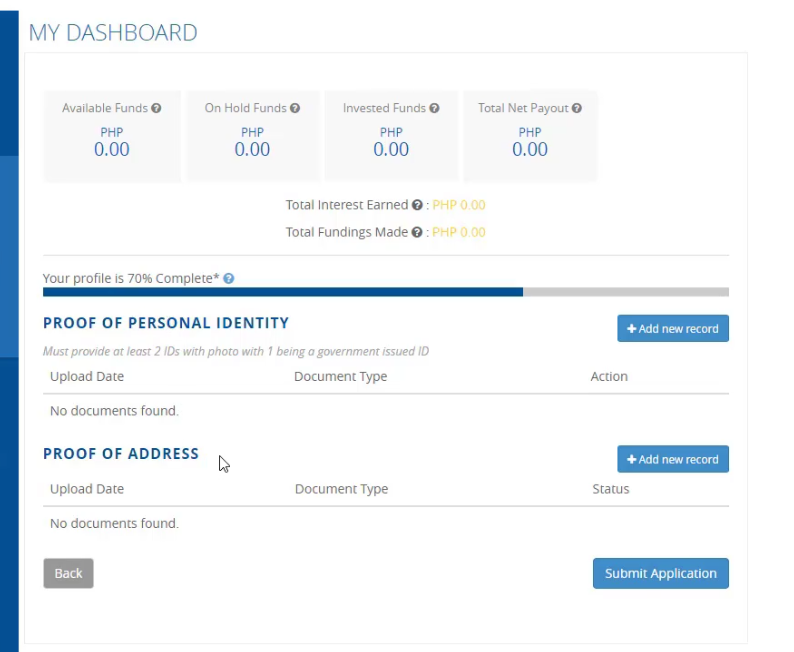
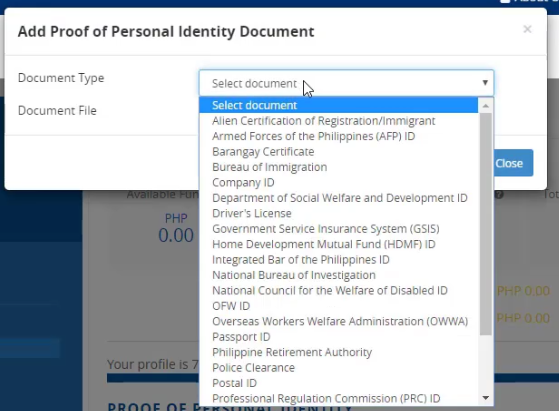
To do this, click on the Add new record button and select the document type from the available list.
List of allowed IDs:
- Alien Certification of Registration/Immigrant
- Armed Forces of the Philippines ID or AFP ID
- Barangay Certificate
- Bureau of Immigration
- Company ID
- Department of Social Welfare and Development ID or DSWD ID
- Driver’s License
- Government Service Insurance System ID or GSIS ID
- Home Development Mutual Fund ID or HDMF ID
- Integrated Bar of the Philippines ID
- National Bureau of Investigation or NBI
- National Council for the Welfare of Disabled ID
- OFW ID
- Overseas Workers Welfare Administration ID or OWWA ID
- Passport ID
- Philippine Retirement Authority
- Police Clearance
- Postal ID
- Professional Regulation Commission ID or PRC ID
- SSS or UMID ID
- Seaman’s Book
- Senior Card or Senior Citizen ID
- TIN ID
- Voter’s ID
Then, attach the file by clicking the Choose File button.
Hit on the Submit button to continue.
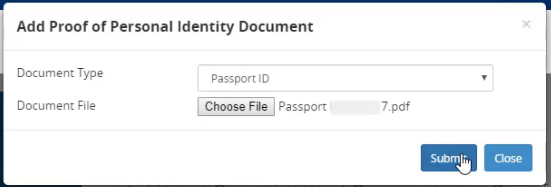
Take note that you need two different IDs to attach. In my case, I used my passport and UMID/SSS card.
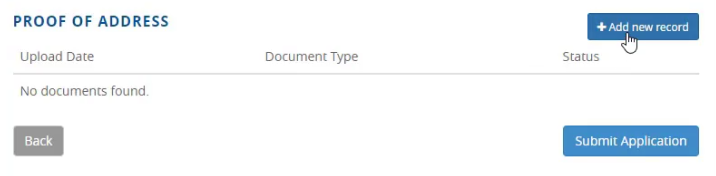
Step 9: Attach your Proof of Address.
Aside from the two IDs, Seedin also needs a proof of your address.
Click on the Add new Record button.
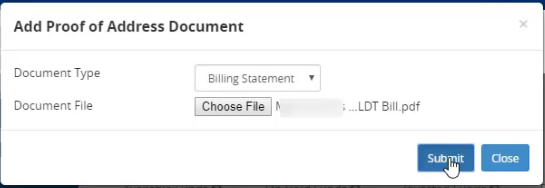
There is only one Document Type currently in the drop down menu: Billing Statement.
Select this option.
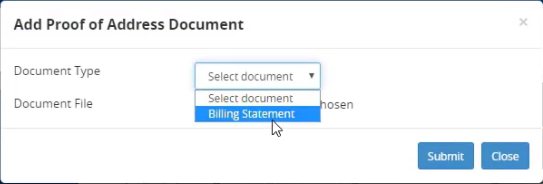
Now, attach the file by clicking the Choose File button and click on the Submit button when done.
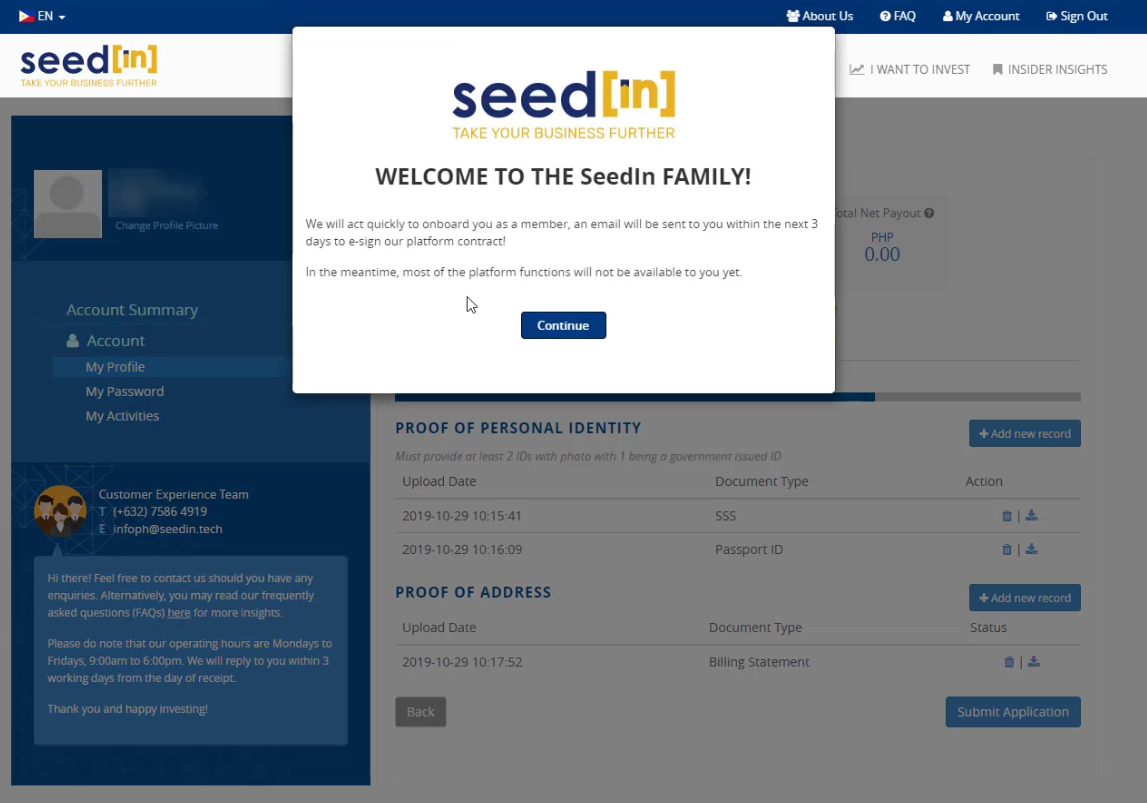
Step 10: Submit the Application.
Now that all the need documents are uploaded, it is time to submit the application.
Hit on the Submit Application button to continue.
In our case, we had to refresh the page since it seems that the system was not redirecting us to the next step
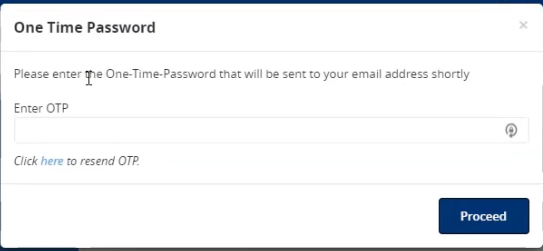
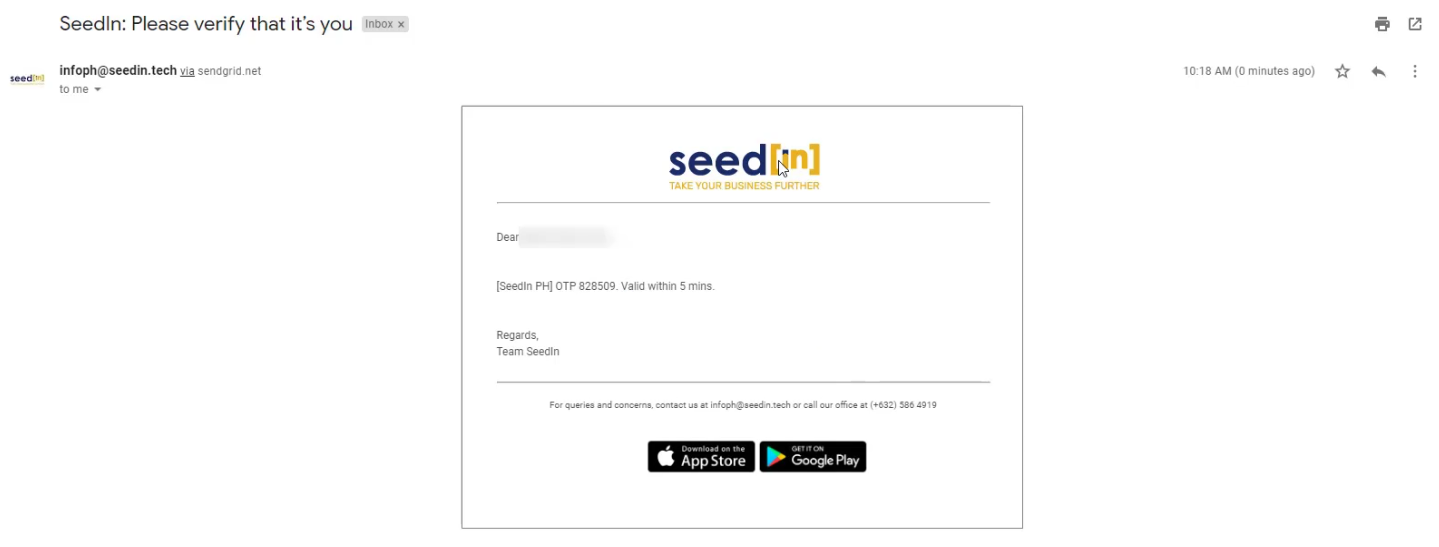
A pop-up window showed up stating that a One-Time-Password was sent to our email address.
We checked our email and we found the OTP code there.
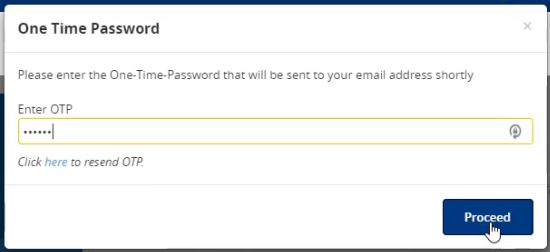
Input the OTP code in the space provided and click on the Proceed button.
Just in case you didn’t receive the OTP via email, there’s an option here to resend the code.
The next step was weird since it went by very fast.
This pop-up box showed up but abruptly also disappeared.
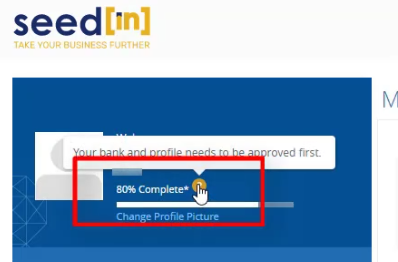
Step 11: Wait for your bank and profile to be approved.
After doing the steps above, your account still needs to be approved.
Currently, the status of your account will be shown as Pending.
You can also see the profile progress bar only at 80%.
To be honest, I didn’t expect my account to be approved within the day – literally just minutes after it was submitted.
Maybe because I registered during their business hours.

Here’s what the approved email would look like:
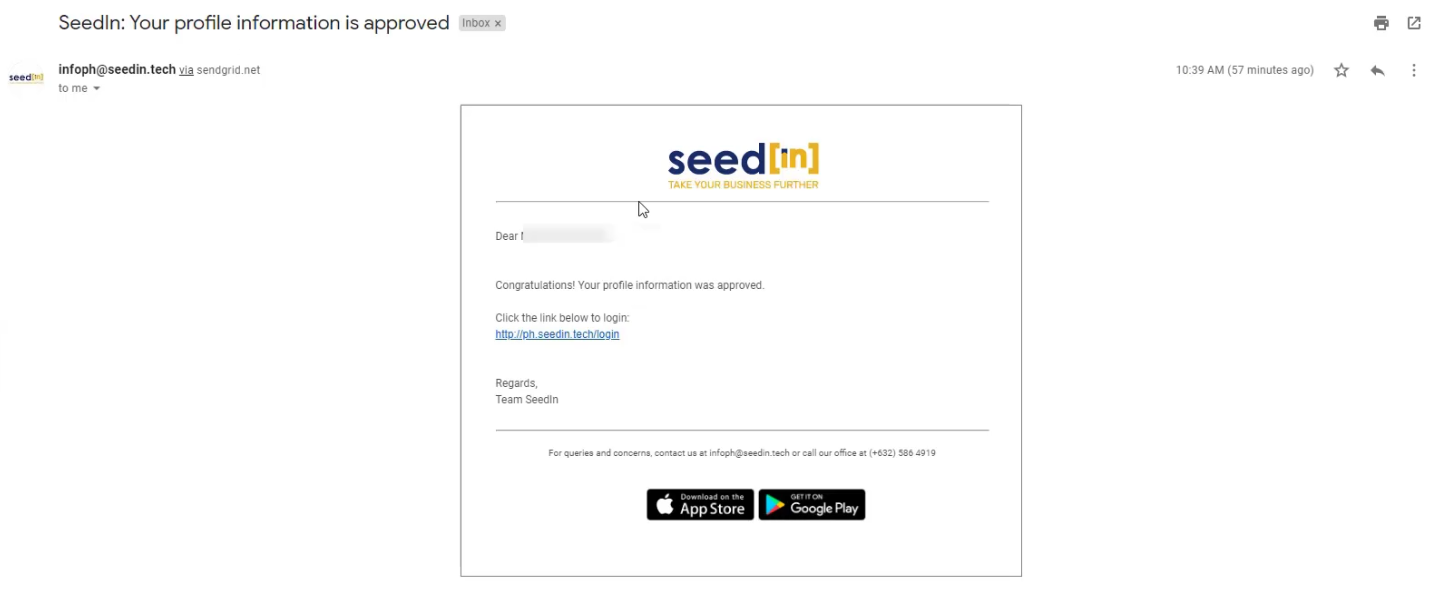
Step 12: Test your Login Credentials.
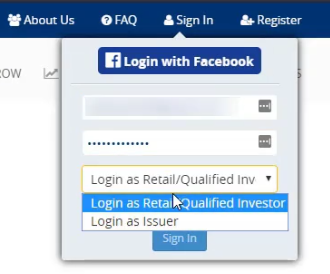
Click on the link within the approval email and on that page, click on the Sign In option at the top right.

Input your email and password.
Select Login as Retail/Qualified Investor.
click on the Sign In button to continue.
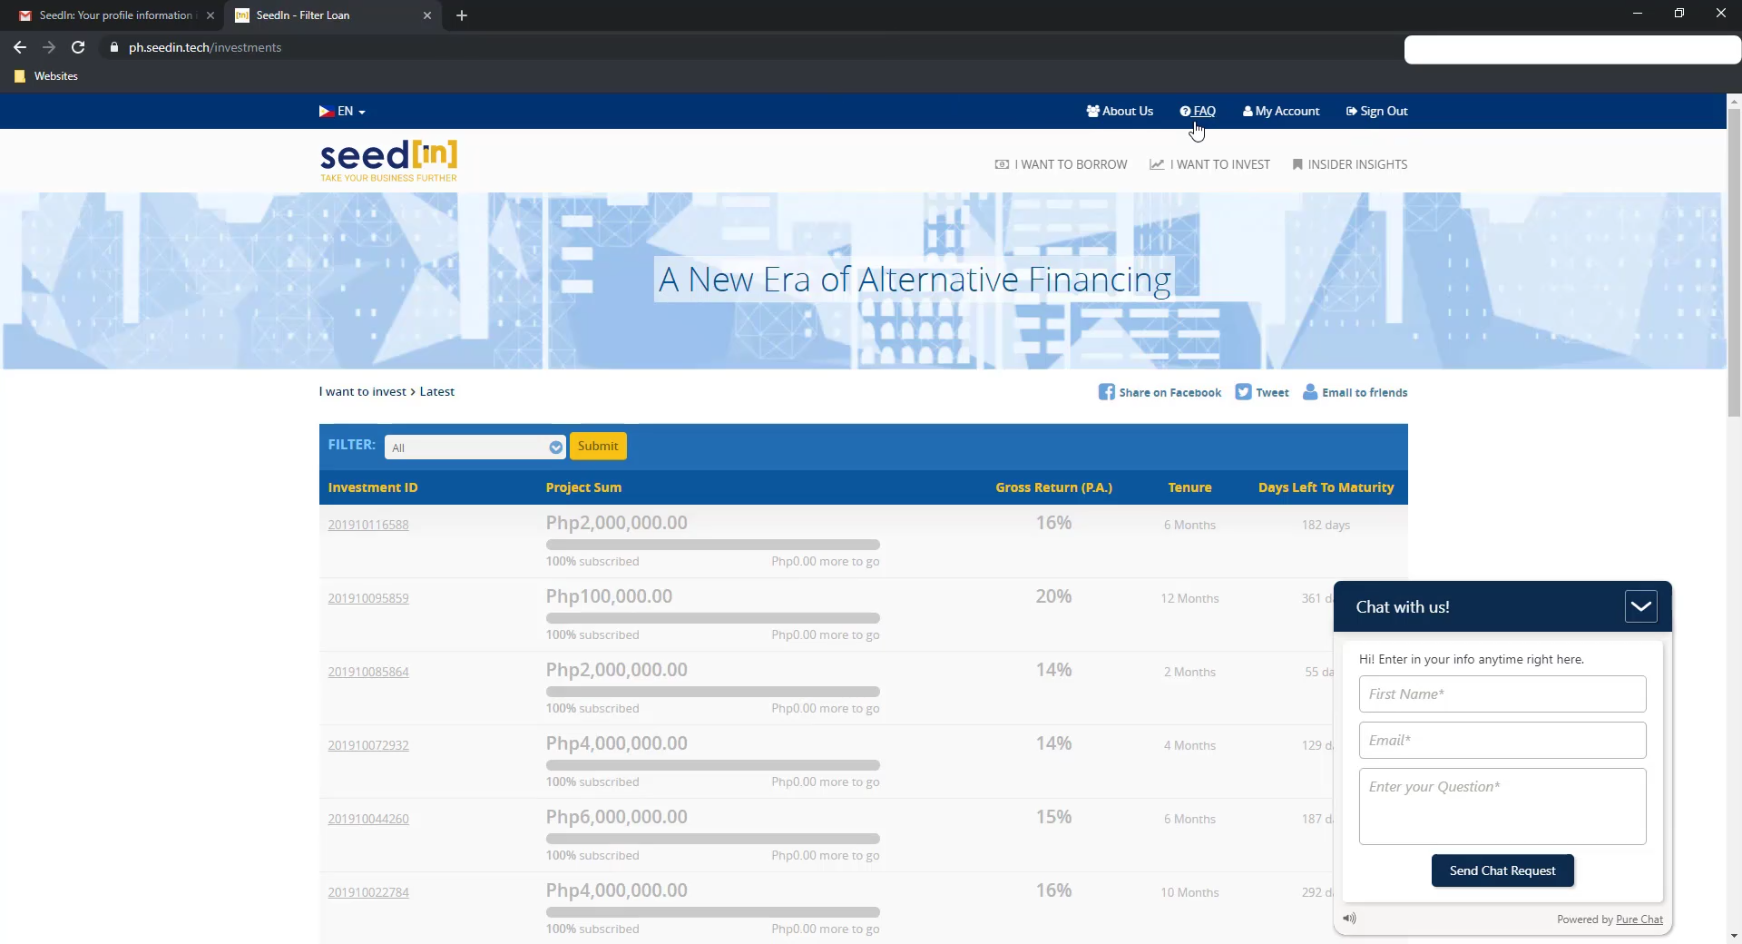
If your redirected to the investments page, your login credentials are working:
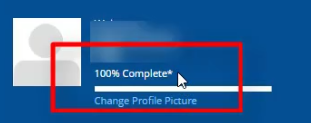
If you also checked your profile progress bar, it should be at 100% Complete now.
That’s it, Congratulations!
You can now participate to any crowdfunding campaigns that would be available within the Seedin Platform.
Financial Transactions Made Easy!
More on our Youtube Channel.
Subscribe Now!
Were you able to successfully do a Seedin Registration? Do you have any questions? Share your experience as well, let us know in the comments below!
Don’t forget to subscribe to our Investlibrary YouTube channel so that you can be updated and notified for every new video that we create! 🙂
https://www.youtube.com/c/Investlibrary