How to Enroll and Send Money to Any BDO Account Online via Mobile App
Here we will show you how to enroll BDO Send Money to any BDO account.
Enrolling other people’s BDO account also enables another benefit aside from convenience: getting higher transfer amount.
Let’s get started!
How to Enroll Other BDO Account via Mobile App
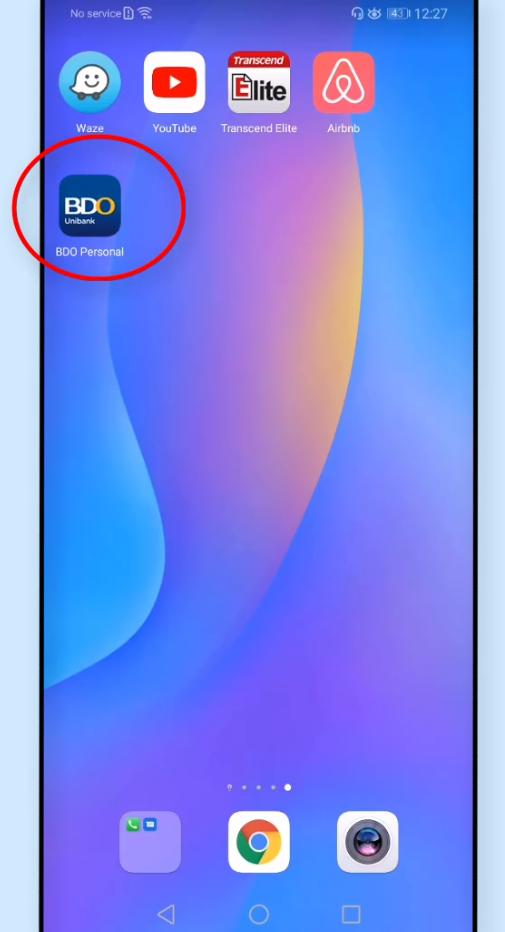
Step 1: Install the BDO Mobile app.
Look for the BDO Mobile App in Google Play or App store for Android or iOS users and install it on your phone.
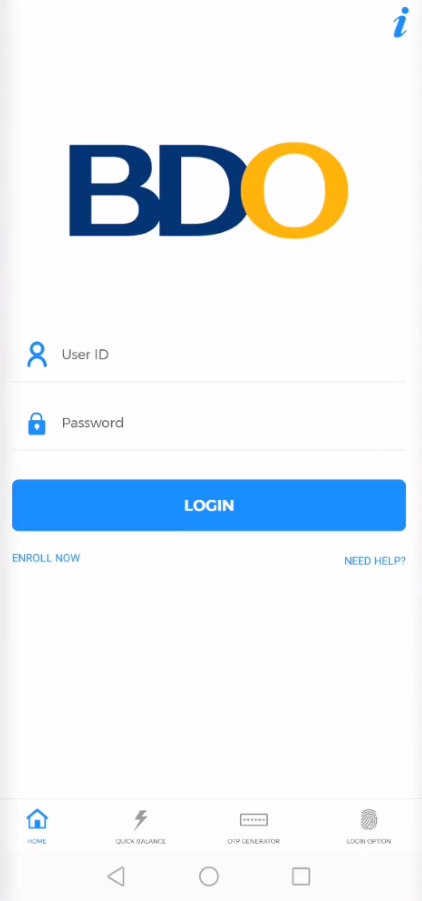
Step 2: Input your User ID and Password.
Open the app and input your credentials.
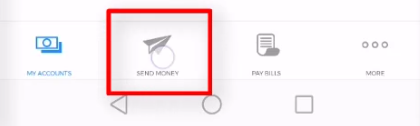
Step 3: Click on Send Money.
For first time mobile app users, you will be asked for an OTP as part of verification and security.
Since it’s not the first time that we are using the mobile app on this phone, we were not asked for it.
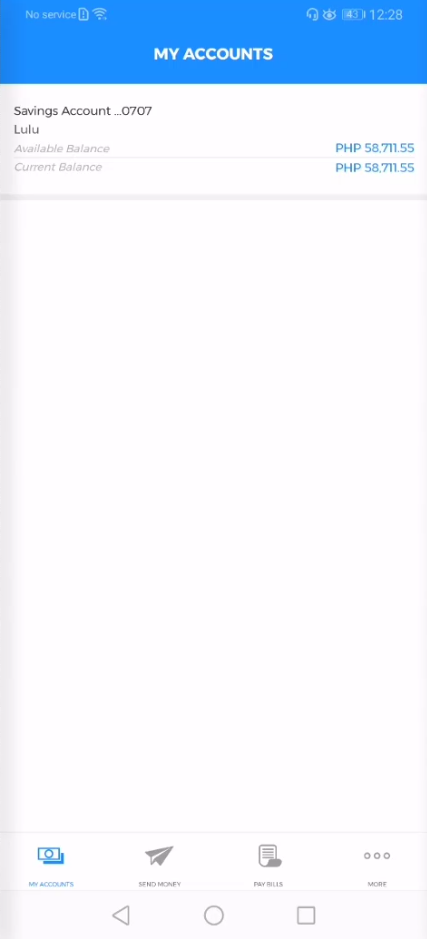
On the bottom part there is a menu selection, choose Send Money.
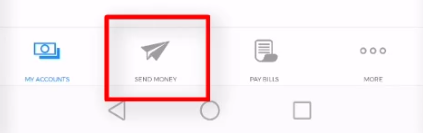
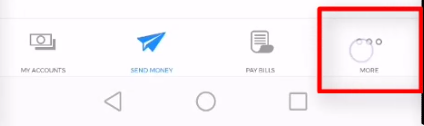
Step 4: Click More.
You will be greeted with various options for Send Money.
Take note that when sending money to a unenrolled BDO account will have a transfer limit of up to 10,000 pesos only.
On the other hand, enrolling a BDO account allows you to transfer more than 10,000 pesos.
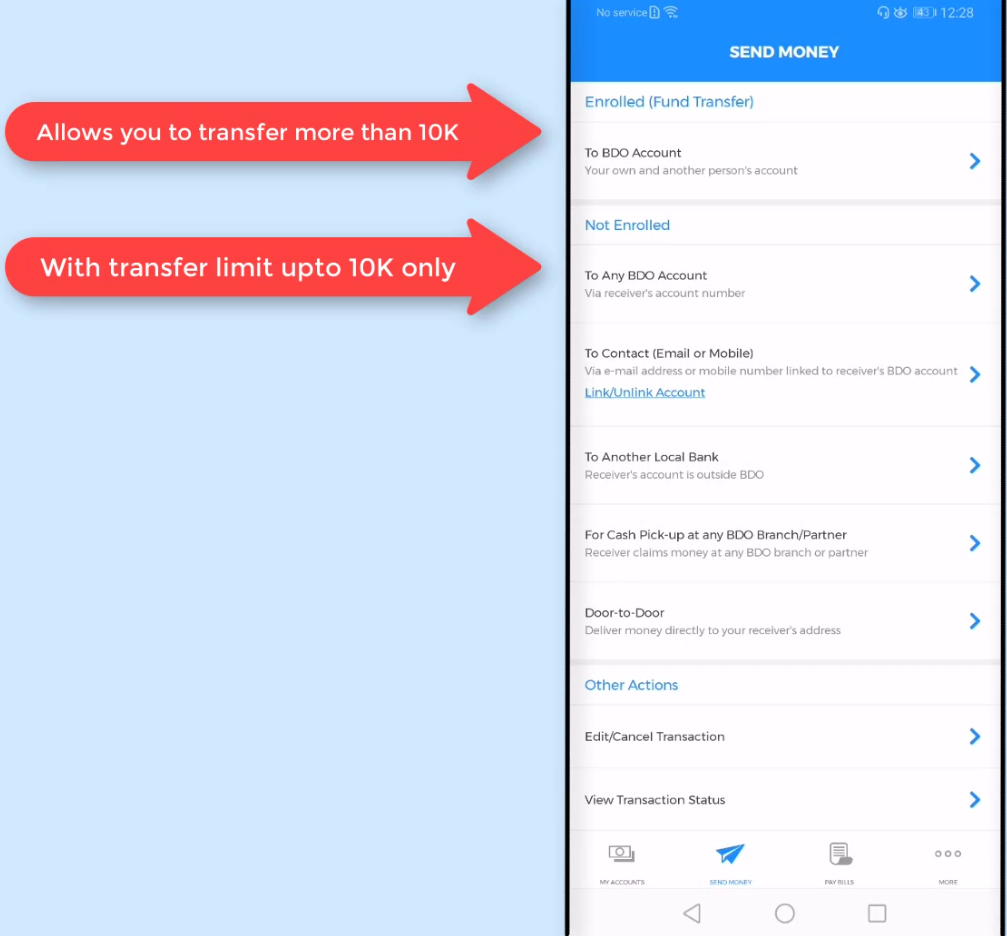
To proceed with the next step, click on the More menu icon on the bottom part.
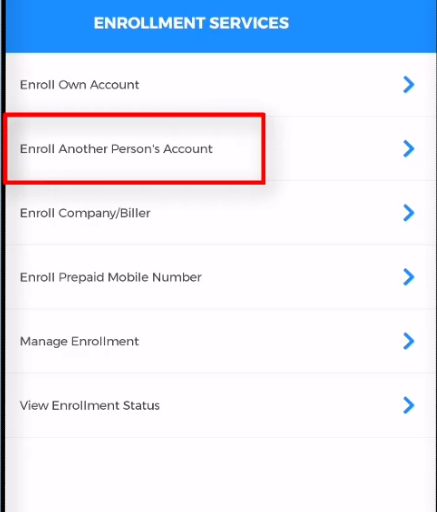
Step 5: Select Enrollment Services.
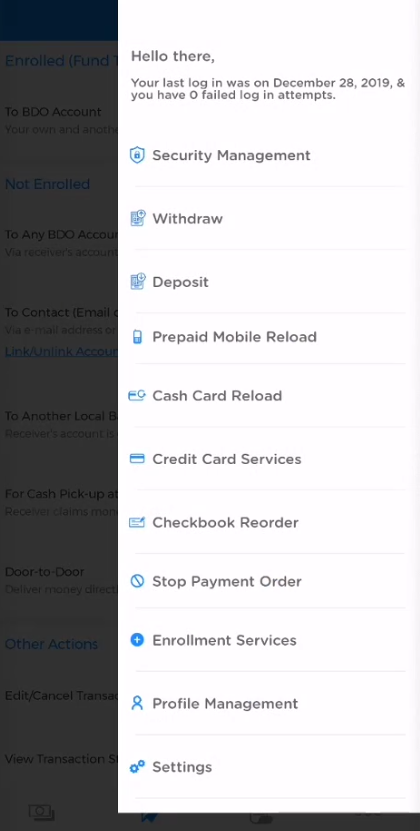
Step 6: Choose Enroll Another Person’s Account.
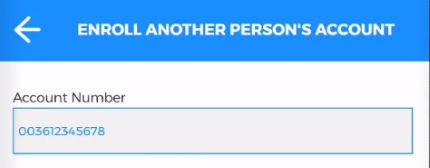
Step 7: Enter the Account Number.
You will have to fill up the enrollment fields.
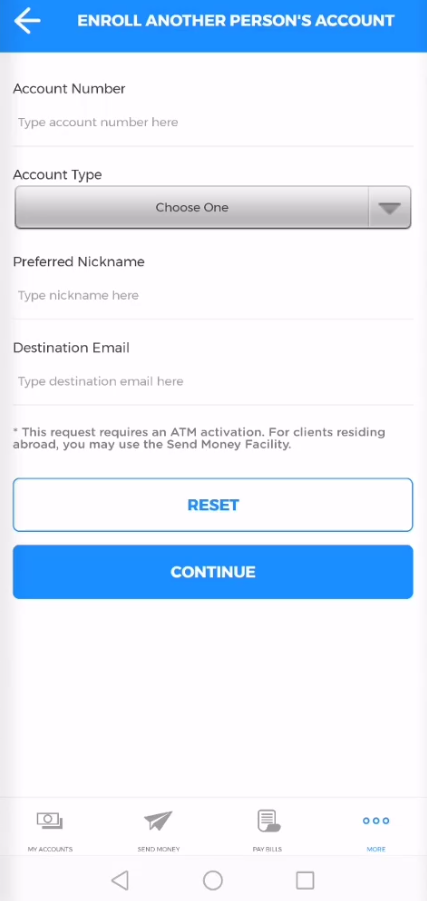
Input the account number that you want to enroll.
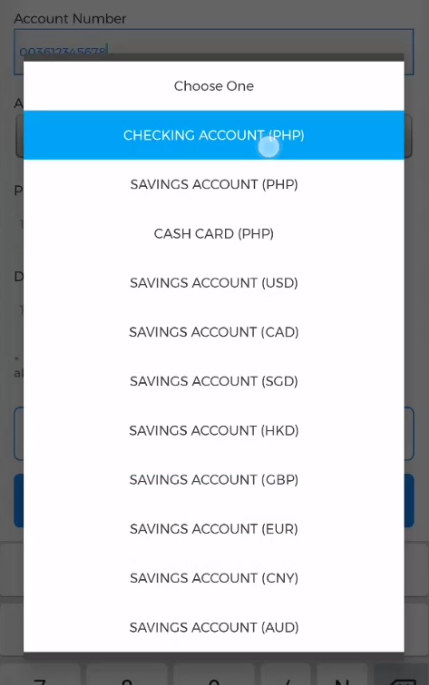
Step 8: Choose the Account Type.
Click on the drop down menu and choose the account type.
If you don’t know, you will need to ask this from the owner or the other BDO account that you will be enrolling.
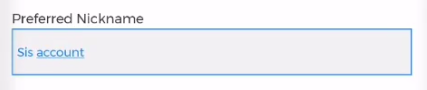
Step 9: Enter a Preferred Nickname.
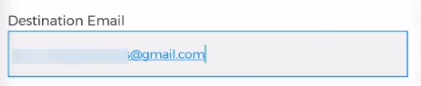
Step 10: Enter the Destination Email Address.
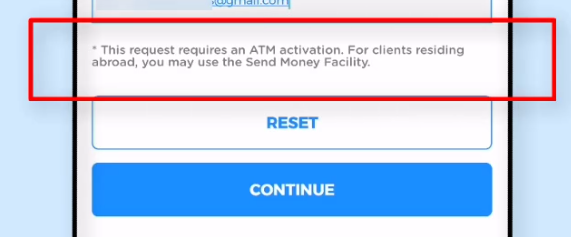
Step 11: Click on the Continue button.
Before you click the Continue button, take note that you will need to do physically go to a BDO ATM and do an ATM activation – don’t worry we will show you how.
Step 12: Double check on all the Enrollment Details and click continue.
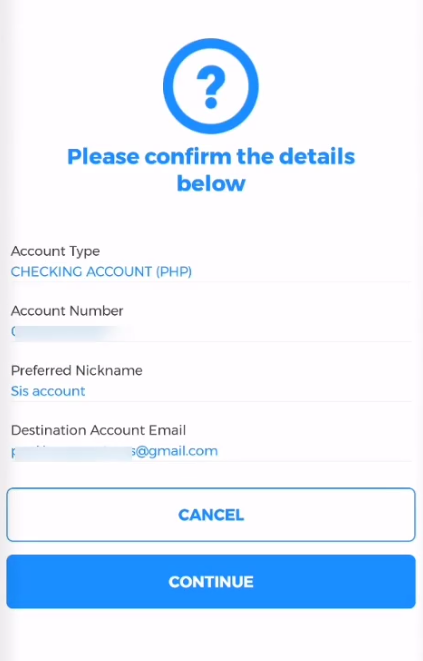
Step 13: You will see the confirmation details on your screen.
The confirmation screen includes the activation code.
Write this down or save it on your phone as you will need this when you do the ATM activation.
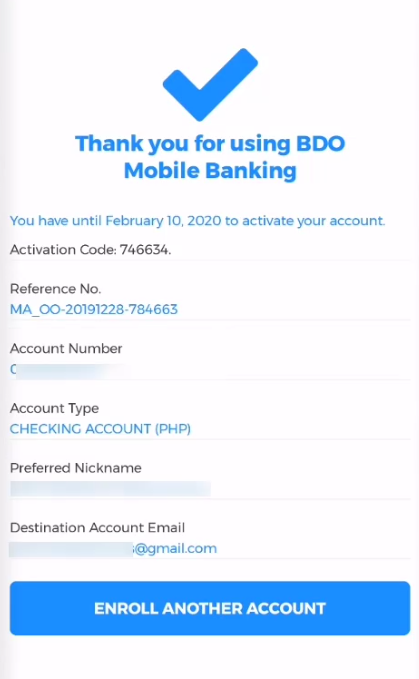
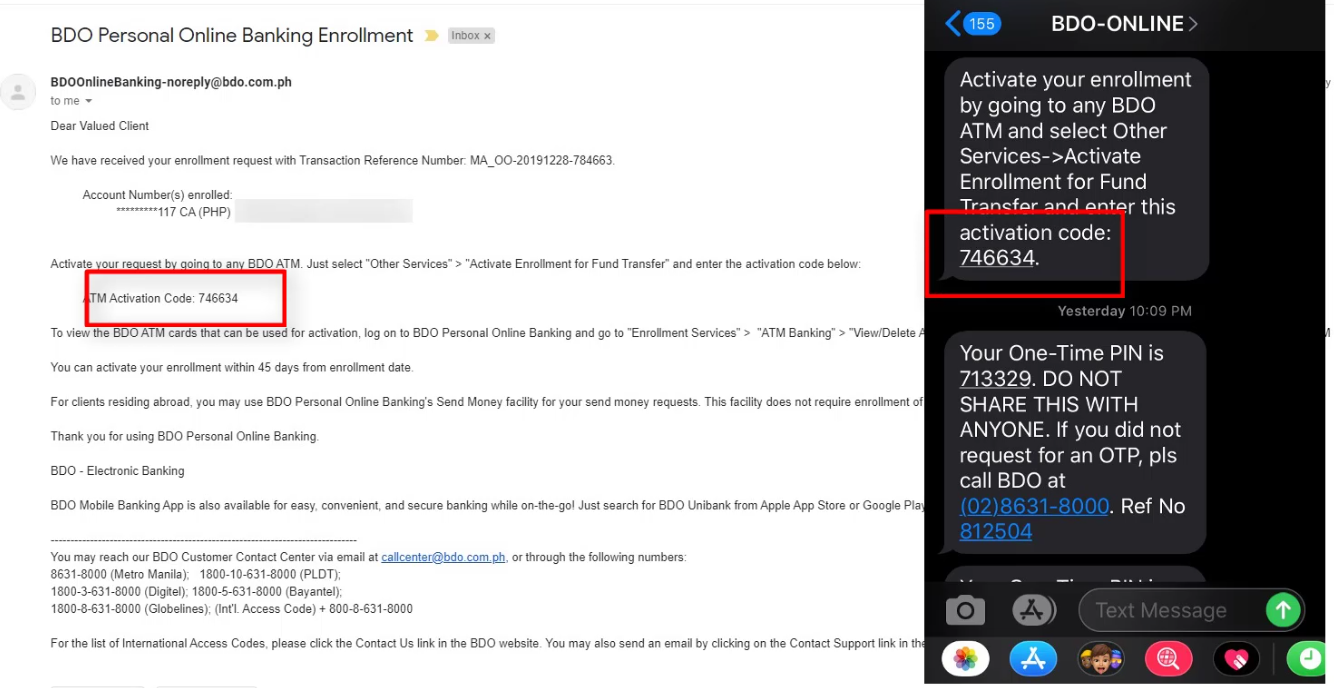
Just in case you missed the activation code in the confirmation screen, don’t worry BDO has sent you the activation code in your email and SMS as well.
Step 14: Activate your Enrollment via any BDO ATM.
If you want to see a live action guide of the BDO ATM activation, check out the YouTube video at the start of this blog post.
Here’s what we did:
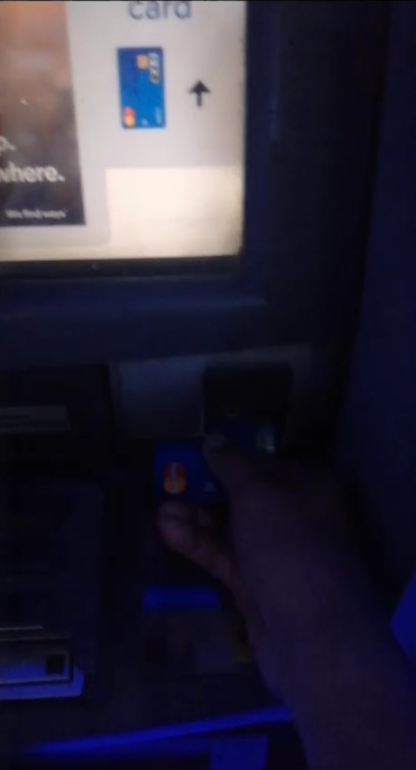
Go to any BDO ATM and insert your ATM card.
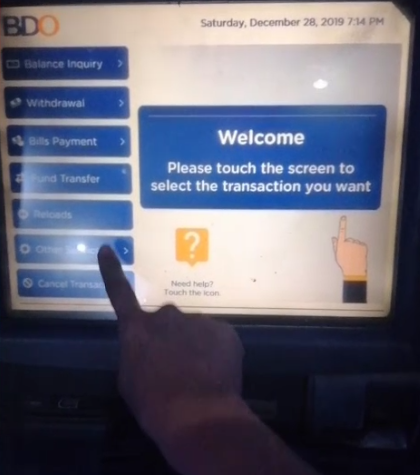
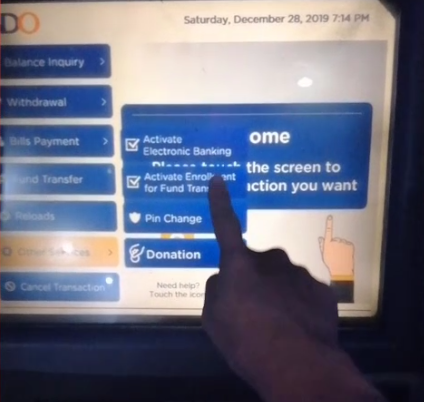
Select Other Services.
Select Activate Enrollment for Fund Transfer.
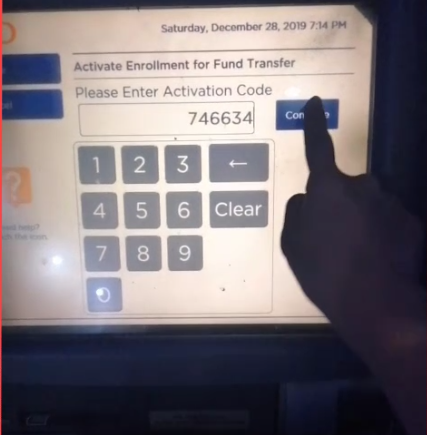
Enter the Activation code (the code sent via SMS or to your email).
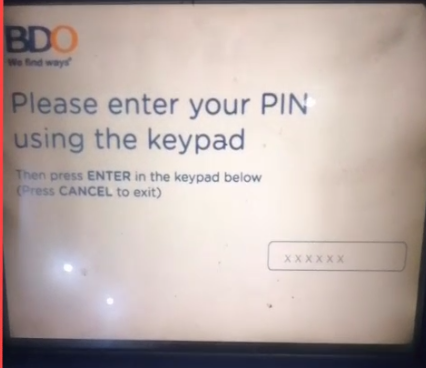
Enter your ATM PIN.
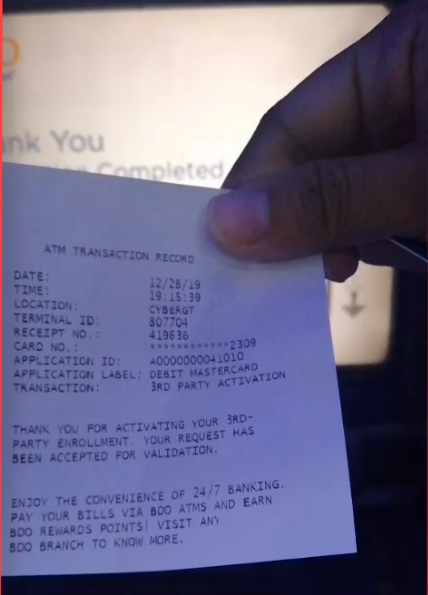
Wait for the confirmation receipt.
You will see this on the ATM screen:
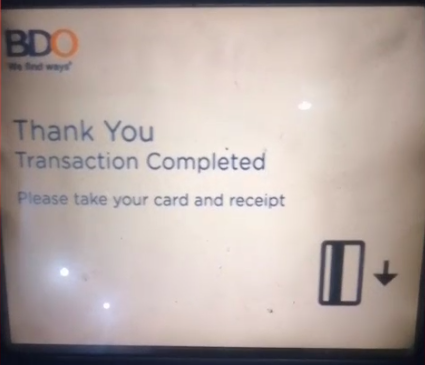
Wait for the confirmation receipt as it is being printed.
It would look like this:
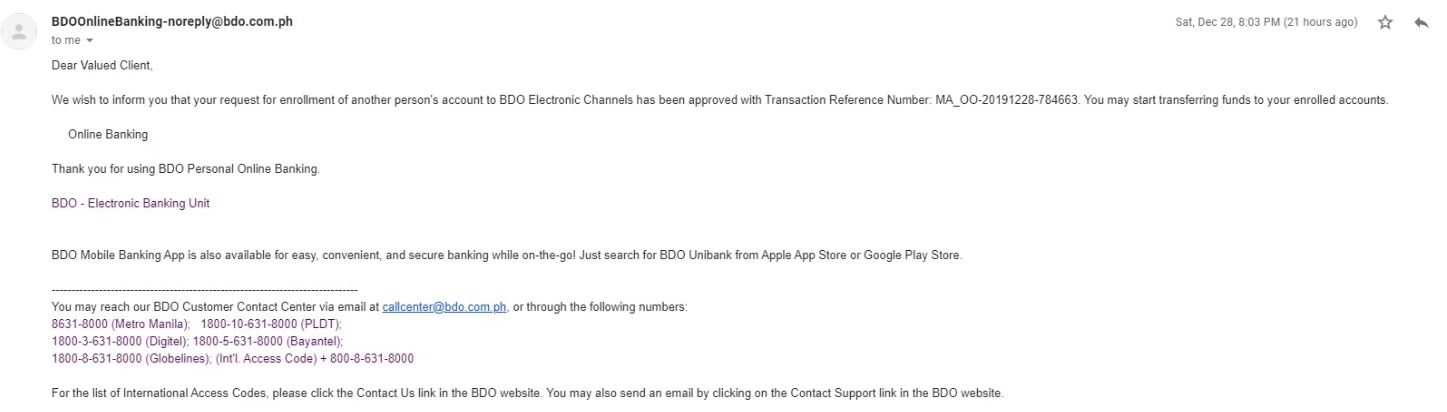
Step 15: You will receive an approval confirmation email.
Check your registered email in BDO and you should be receiving an approval email of the enrollment.
How to Send Money to Any BDO Account Online via Mobile App
Since your enrollment is now approved, it is time to do a Send Money transaction.
You now need to reaccess your BDO mobile app.
Step 16: Open your BDO mobile app again and click on Send Money.
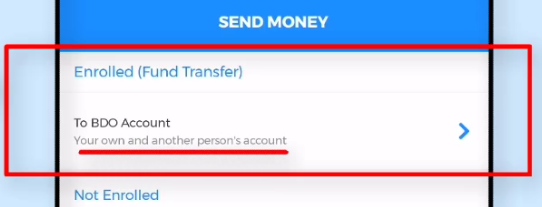
Step 17: Select Enrolled (Fund Transfer).
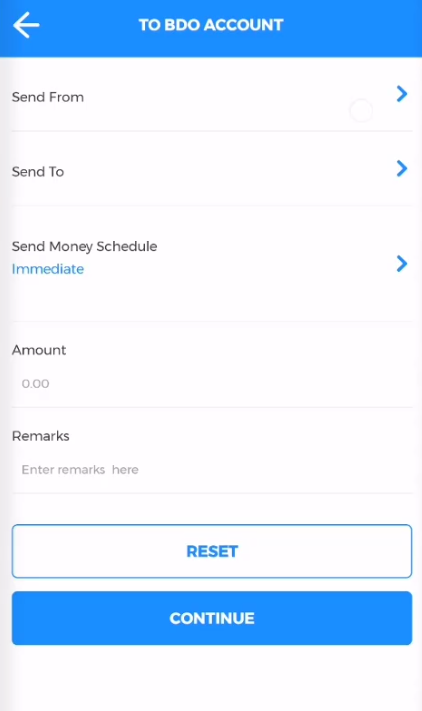
Step 18: Input all of the required Fund Transfer Details.
The fund transfer details include the following:
- Send From
- Send To
- Send Money Schedule
- Amount
- Remarks
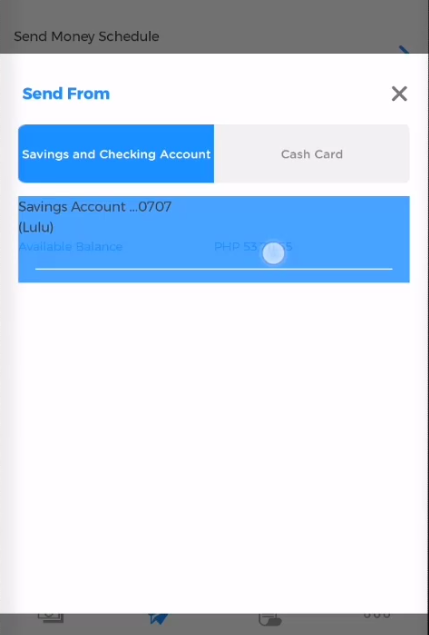
Click on Send From and choose from the listed BDO accounts that you own.
Since we only own one, we will select that.
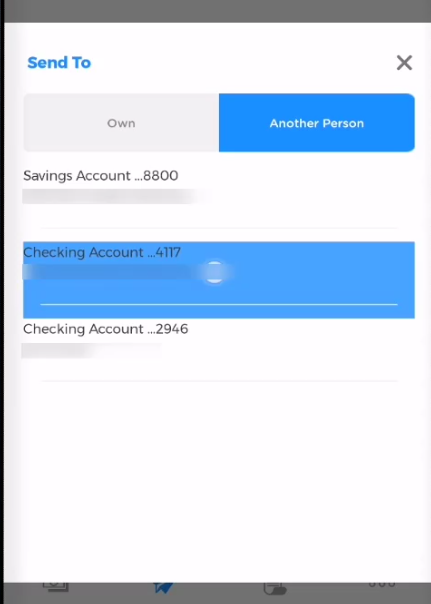
For the Send To field, click on Another Person since we will be transferring funds to our newly enrolled other BDO account.
You should now be seeing the newly enrolled account at this point.
Select the account.
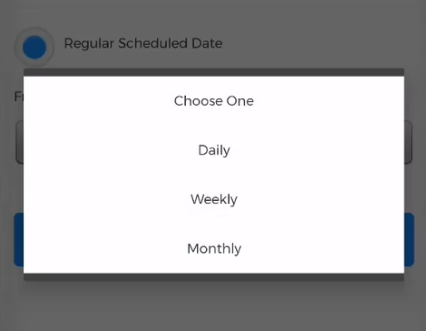
Third, you need to select the transfer schedule that is suited for your current send money transaction.
There are three options here:
- Immediate
- Later Date
- Regular Schedule Date
For our guide, we will choose Immediate.
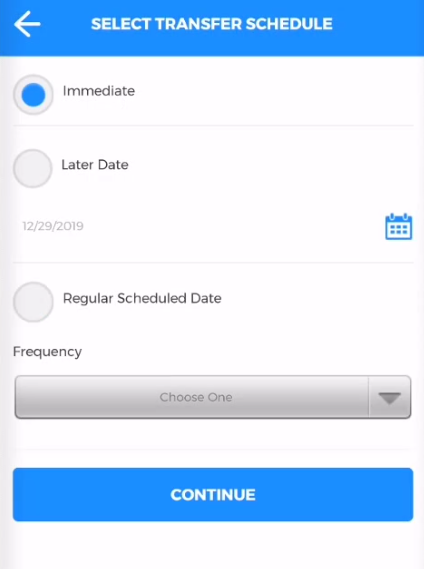
Though, if you select Regular Schedule Date, you have an option to set it daily, weekly or monthly.
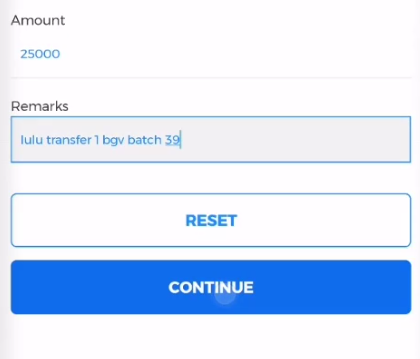
Finally, input the amount and place remarks so that you can easily recall what this fund transfer transaction is for.
Click Continue when done.
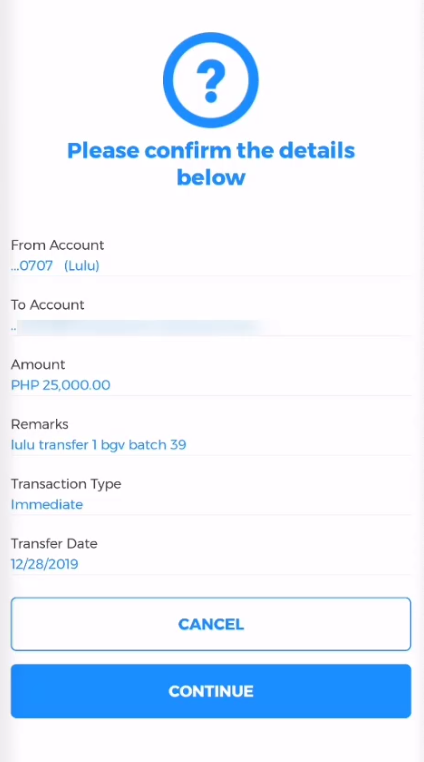
Step 19: Review and Confirm the Fund Transfer Details.
Have last look on the fund transfer details especially the recipient and amount being transferred.
Click on the Continue button if you are confident that everything is correct.
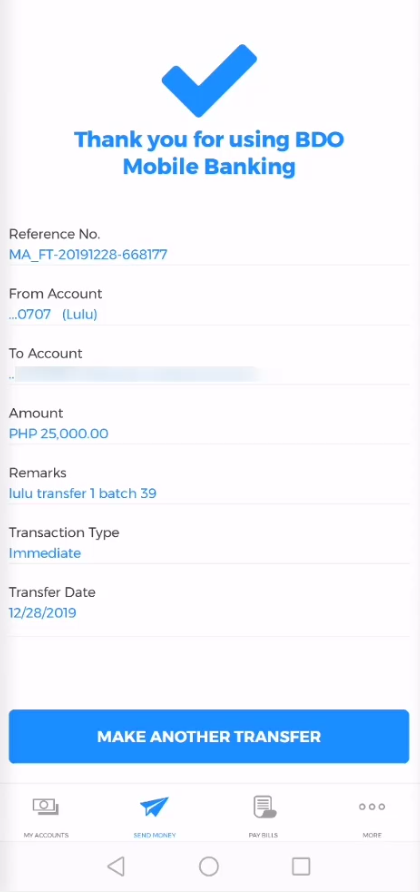
Step 20: Take note of Fund Transfer Reference Number.
If your transaction was successful, you should be seeing this.
Take note of the reference number just in case you will need it in the future.
Financial Transactions Made Easy!
More on our Youtube Channel.
Subscribe Now!
Were you able to successfully do a BDO send money to other enrolled BDO account through the mobile app? Share your experience in the comments section below.
Don’t forget to subscribe to our Investlibrary YouTube channel so that you can be updated and notified for every new video that we create! 🙂
https://www.youtube.com/c/Investlibrary